How to make a ceiling of plasterboard
 Modern plasterboard ceilings differ from their typical “brothers” with a number of indisputable advantages and are able to literally transform the interior of any room. Such ceilings, above all, provide a completely flat and smooth surface that can hide any irregularities and defects in the existing (supporting) ceiling. In addition, using such ceilings is very convenient to hide various types of communication and to hide electrical wiring, which can be laid directly behind them.
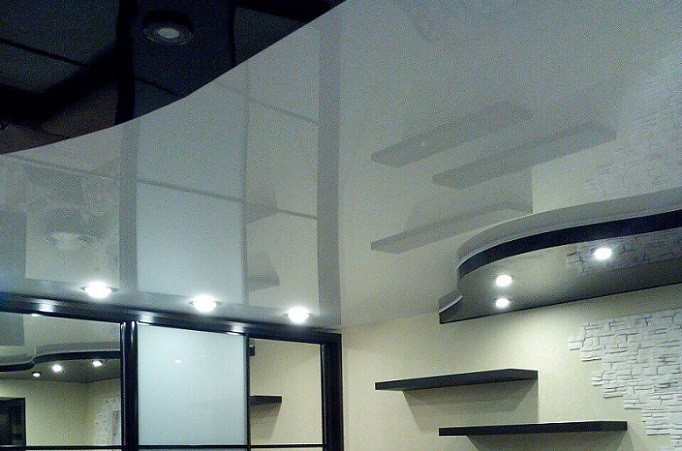
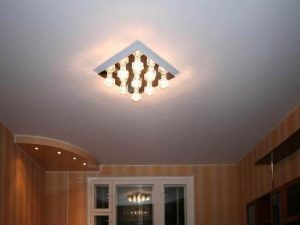
Further, the variety of design solutions for the design of gypsum ceilings will allow anyone who wants to choose the design of the suspended coating to your liking. These designs can be single-level, multi-level, have different colors, etc. In addition, you can always experiment with the design of drywall ceilings, if you try, for example, to select various options for the placement of lamps on it.
It is also very important that the drywall ceiling can be constructed in any, without exception, premises, and after being treated with a special waterproof compound, they can be installed even in rooms of high humidity (in the bathroom, for example).
Currently, there are several ways to manufacture suspended ceilings and other decorative structures made of plasterboard, the most common of which are two – this technology “Knauf” and “Giprok.”
In this article we will look at how to make a gypsum plasterboard ceiling using the “Giprok” technology, but if desired, this technique can always be used in relation to other technologies.
To carry out the installation work described in this article, the following tools will be required:
· Perforator – for punching holes for fasteners;
· Hammer – for driving dowel-nails;
· Screwdriver – for fastening profiles on suspensions;
· Metal shears – for cutting profiles of the required length.
The materials will require, first of all, special hangers attached to the base, special metal dowel-nails or anchor wedges, as well as a set of self-tapping screws of various sizes.
Well and, of course, it is necessary to prepare the covering material itself, which is a 1250 mm wide gypsum plasterboard.
Before starting work on the design of the ceiling, it is necessary to organize the layout of the entire future structure, for which you will definitely need a lengthy or laser level.
Layout and starter installation
First of all, you need by level to mark the line of the initial profile for the ceiling, which can defend (depending on the amount of hidden communications and surface relief features) from the main ceiling at a distance of 10 – 20 cm.
1- initial (starting profile)
2- main (carrier profile)
3- longitudinal profile
Then, using a pencil, draw the contour of this line on the wall and fix on the marking the special guides of the starting profile (PNP 27/28) around the perimeter of the whole room with dowels with a step of 400-500 mm Between the wall and the initial profile, you can lay a special sealing tape in order to improve sound insulation.
At the next stage of work, the ceiling is marked for the main (bearing) guides. To do this, you need to put on the ceiling a number of parallel lines located at distances slightly more than 1250 mm from each other (half of a standard sheet of drywall). And then along the marked lines with the help of metal anchors with a pitch of 400 mm, it is possible to fix special load-carrying hangers.
After that, it is necessary to proceed to the installation of the main bearing (guide) profiles, which are recommended to be mounted on the starting frame with a small gap (taking into account possible temperature expansions).
Before installing ceiling profiles (60/27), it is recommended to “sketch out” a draft diagram of the future ceiling design. This will allow you to make rational use of a standard size gypsum plasterboard (the most common size is 2500x1200mm). Such planning will help you reduce the amount of unused material residues and allow you to get a gain of about 10-15% of the cost of all the finishing material prepared for installation.
Bearing (guiding) profiles are fastened to the main ceiling hangers with metal screws (two pieces from each end of the profile), while their horizontal position is sure to be checked by level.
Subsequent operations on the installation of a plasterboard ceiling involve marking the installation sites for longitudinal profiles. The type of installation of these profiles recommended for use is transverse mounting. Longitudinal profiles can be prepared from the same guides, cutting them with metal scissors into segments of the required length.
The longitudinal profiles are mounted between the main guides with a pitch of approximately 500 mm. and attached to the guides with the help of special fasteners – the so-called “crabs”.